Camping, also referred to as “car camping” by some, ends up as an introductory overnight activity for many people.
Camping can be an enjoyable pastime. And it serves as a valuable adjunct to other trips. Joan and I typically camp out on a Friday and then backpack the rest of the weekend for much of the year.
A quiet site on a Friday near the trailhead makes an enjoyable way to bring in the weekend.
Original version 2021. Updated March 2025
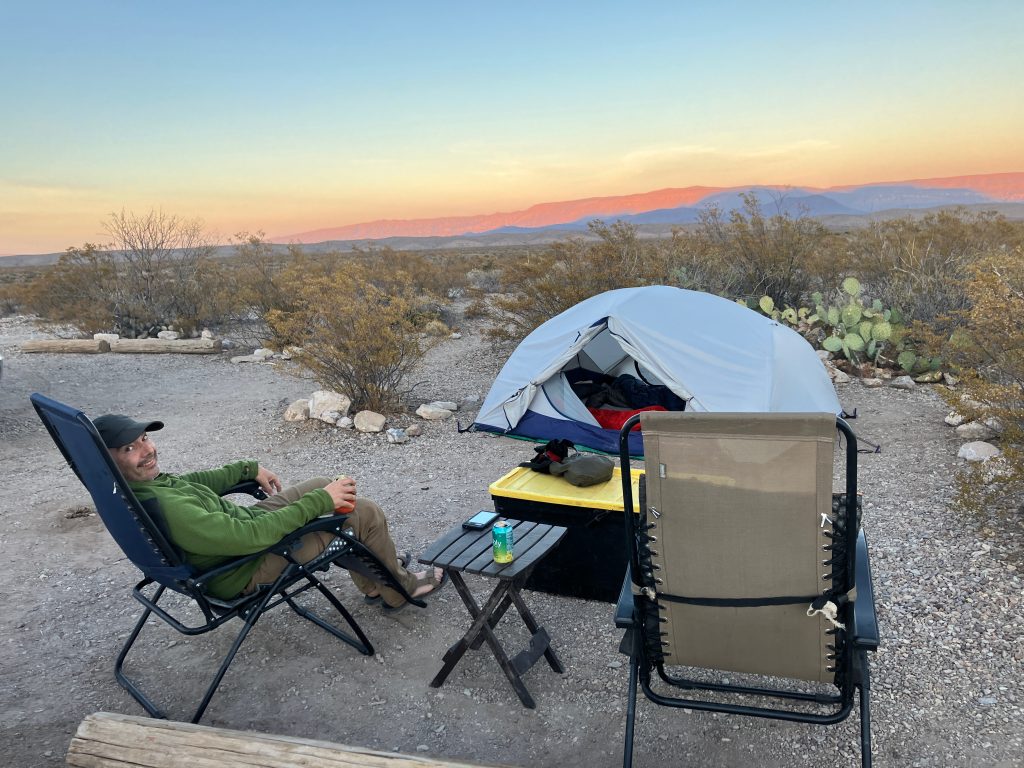
In Big Bend National Park. From Joan.
In a previous article, I’ve covered the basics of how, where, and what to do for camping.
But acquiring all this gear seems expensive and a bit intimidating.
Many outdoor magazines and websites shill expensive clothing and gear for what should be an introduction to the outdoors. The average person does not need a $400 sleeping pad, a $600 tent, a $200+ sleeping bag that pairs with the equally expensive clothing suggestions, and a kitchen set that will make you a glamping Gordon Ramsay, as stated by some actual articles I found.
Joan and I regularly car camp and do not use any such items.

So, how do you start with quality gear and clothing that won’t melt your credit card?
Get some budget gear.
I don’t mean “cheap gear” per se; I mean gear that gives a good bang for the buck, lasts for years and provides a lot of comfort and safety.
I find this price range to be the sweet spot for car camping. “Cheap gear” can work well but requires some leg work and research to find the gems in the rough. And the costly gear rarely makes sense for car camping.
Sure, I’ll use higher-end items when backpacking. But that’s another specialized case. I still use budget and cheap gear or clothing in my backpacking trips.
Here are some specific suggestions based on my years in the outdoors.
For a summary, here’s a modified primary checklist that works well for camping with three-season-based day hiking as the primary activity:
| CATEGORY | ITEM | NOTES |
| Gear and clothing for the day | Items as needed for the chosen activity | This article includes a list of equipment for budget day hiking. |
| Shelter | ||
| Tent | Pre-packed in or near the main tote | |
| Poles | “ | |
| Stakes | “- We always upgrade our tent stakes. “Y” style ones work well, and we’ve used the budget ones for hundreds of nights. | |
| Sleeping Gear | ||
| Sleeping Bag(s) | Stored next to other totes/gear | |
| Pad(s) | “” | |
| Kitchen Gear | ||
| Stove, lighter, and accessories | Pre-packed in or near the main tote | |
| Fuel | “ | |
| 2 qt and 4 qt pots | “ | |
| 9″ Frying Pan | “ | |
| Kitchen Utensils (Ladle, large spoon, spatula, tongs, knife, can opener) stored in a mesh bag | “ | |
| Small cutting board | “ | |
| Personal eating gear (Lexan spoon, knife, and fork. Plastic plate and bowl. Insulated mug) | “ | |
| Cleaning Gear (Purel, paper towels, scrubbie, dish soap, small camp towel) | “ | |
| Garbage Bag(s) and 5-gallon utility bucket | “ | |
| Water Jug(s) | Stored near totes | |
| Camp Table(s) | Stored near totes | |
| Cooler with bottle opener | Stored near totes. Filled with perishable food, ice, and cold drinks when leaving for a trip | |
| Pantry Tote | Pre-packed with olive oil, spices, hot drink mixes, and shelf-stable food | |
| Camp Clothing | ||
| Warm Hat | In personal duffel | |
| Warm gloves | “ | |
| Long underwear top and bottoms | “ | |
| 200 wt fleece jacket | “ | |
| 100 wt fleece pullover | “ | |
| Light puffy | “ | |
| Long Pants | “ | |
| Rain gear (may already be packed in day-use clothing) | “ | |
| Change of socks | “ | |
| Camp shoes such as sandals | “ | |
| Misc Gear | ||
| Toiletries (toothpaste, toothbrush, floss, etc.) | In personal duffel | |
| Cord. | With maintenance tote, I like bankline as an inexpensive and strong option. | |
| Bungee Cords | “ | |
| Duct Tape | “ | |
| Tarp for quick shelter or staging gear when packing/unpacking) | “ | |
| Gutter nails for tarp set up if needed. | “ | |
| Poncho Liners and blanket(s) | “ | |
| Carabiners | “ | |
| Small First Aid Kit | It should be in day use kit. | |
| TP and Trowel | In the main tote | |
| Lantern | “ | |
| Headlamp | With personal gear. May already have packed in day use kit. | |
| Knife | It may already be included in the day-use kit. | |
| Extra Sunscreen | With personal gear, clothing may substitute | |
| Work Gloves (optional) | With maintenance tote or auto tools below | |
| Camp Chairs | Stored near totes and other gear | |
| Basic auto tools | In the car (recovery straps, battery jumper, toolset, compressor, etc.) |
More specifically –
Shelter (Tent)
As I’ve said before, don’t get a car camping tent for, well, car camping. I find a budget-minded backpacking tent, sized up, works very well for car camping. The lower profile, more weather worthiness, and packability make a shelter that goes beyond calm conditions.
Since 2021, Joan and I have used an Alps Mountaineering Chaos 3. The side vestibules, ample room for two adults, and the structural design made us comfortable in the wind and rain we encountered over our trips since we bought it. Alps Mountaineering makes some very good “bread and butter” gear; at $200, the Chaos tent strikes a good balance between price and quality.
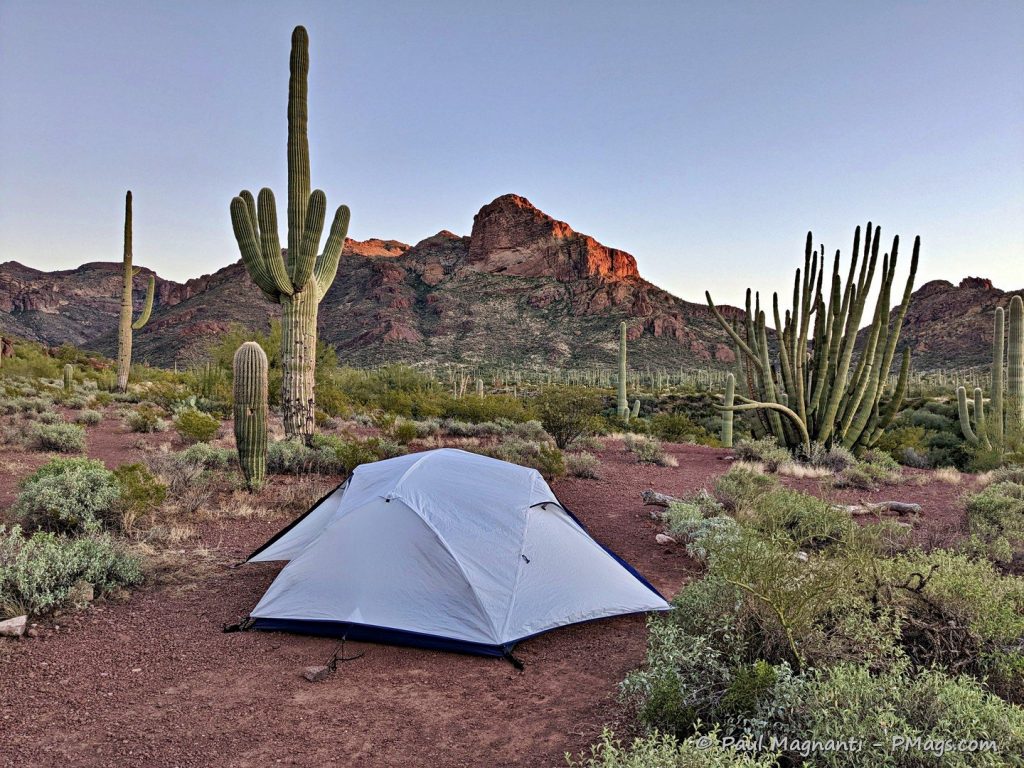
In Organ Pipe Cactus Natl Monument.
Kelty and Eureka also make similar quality tents at a reasonable price point. The REI Garage typically provides factory closeouts or earlier models at a reasonable price.
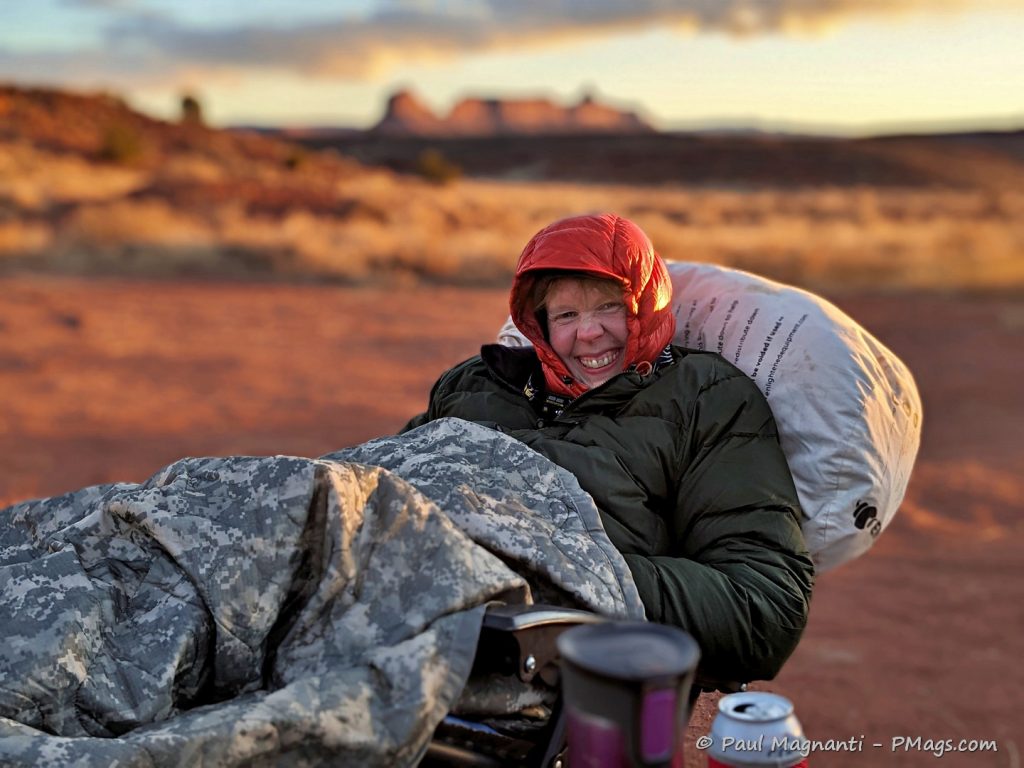
Sleeping system
Assuming spring-to-fall camping, you’ll want a sleeping system that won’t make you swelter in the summer but will keep you warm in the crisp air of fall.
We’ve found a versatile system, such as a rectangular sleeping bag/fleece blanket/poncho liner combo.
With this system, we’ve slept at comfortable temps on the Nevada summer nights and kept warm during October in nearby Colorado.
We use two inexpensive synthetic rectangular-style sleeping bags that allow more room than mummy bags for $40. The 25F rating ends up as rather optimistic for comfort, of course. However, paired with two twin-sized blankets (currently $32 total ), the warmth extends the range a bit. To bring the system into the fall and have some excellent throw blankets for the camp chairs, get a poncho liner for about $30, an excellent piece of kit for an excellent price.
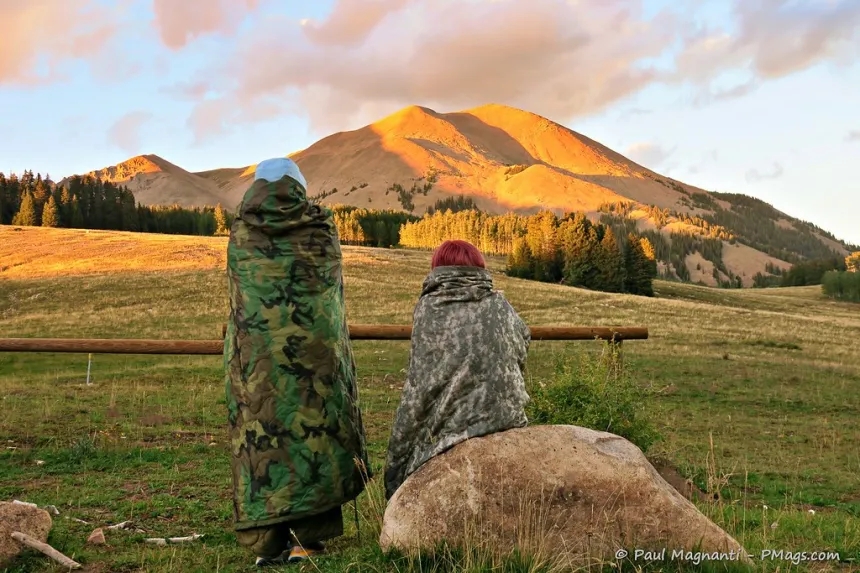
Joan’s interns also enjoyed them around camp!
For about $130, Joan and I have a complete, versatile, and warm system we’ve used for well into fall.
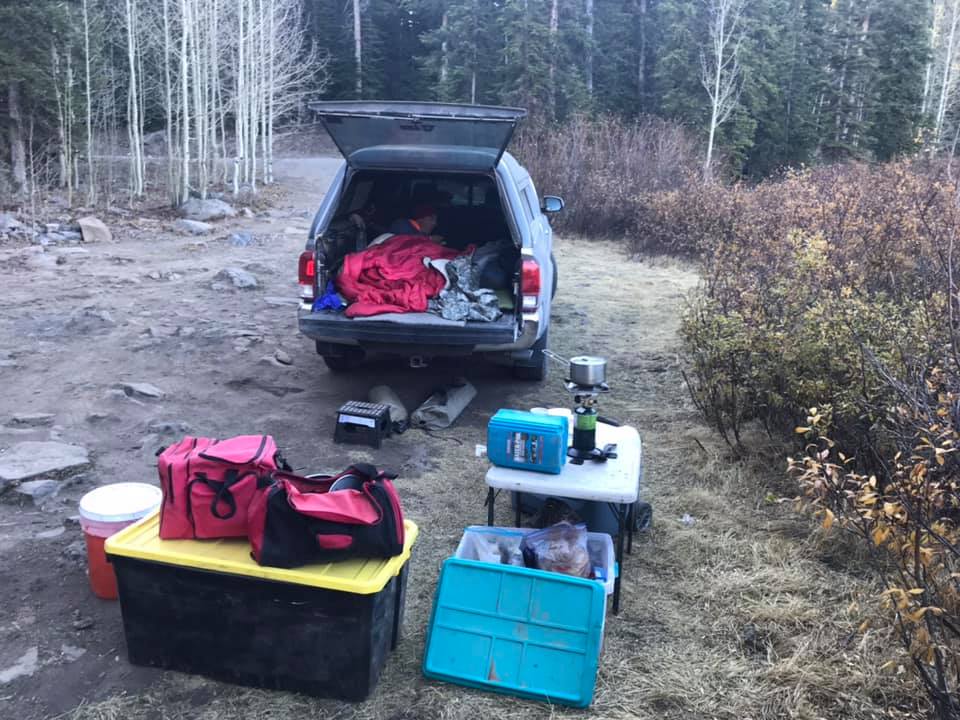
Sacked out in the back of our truck using this system during mid-October in Colorado. Read here for more info about our Tacoma setup. PCO Joan.
To use this sleeping system, you need comfortable and well-constructed sleeping pads. The inflatable air pads with no insulation, popular for summer,r will leave you cold on the ground.
A Therm-a-Rest style pad wider than standard, 2″ inches thick, and has a warmer r-value of 5, and only $30 is the Ozark Trail Self-Inflating Camp Pad with Pillow. I’ve not used this pad, but similar budget ones – for starting, it more than fits the bill.
If you are new to camping, I’d save deep winter camping for the future with its more specialized gear, clothing, and techniques.
The Kitchen
Of all the areas, even more so than clothing, the cooking and eating gear seems the most overpriced area for car camping. Very cheap quality pots and pans get sold for a lot of money in dedicated outdoor stores. And if you believe the outdoor magazines, you absolutely need the most expensive stove, table, and tacticool utensils. And a $500 cooler to store your food, of course.
Nonsense.
I emphasize we camp all the time, eat well, and enjoy all four seasons. And don’t use overly expensive gear to do it all with. And that includes our kitchen gear, too.
A stove should be the first item you purchase for the kitchen. Though a simple one-burner stove works well for quick camping trips, I’d buy a two-burner propane stove for more versatility overall if you buy one stove.
Perhaps it’s my cultural background, but I enjoy cooking—a lot.
And make excellent use of our camp stove when I can. However, I also recognize most people want simple fare when camping and do not want to spend as much money (about $155 for the current re-branded Camp Chef model). A Coleman-style two-burner propane stove for $80 works well for many people. With windbreaks, a healthy 10,000 BTU per burner, and a piezoelectric starter, this stove works for many people, including many of my friends.
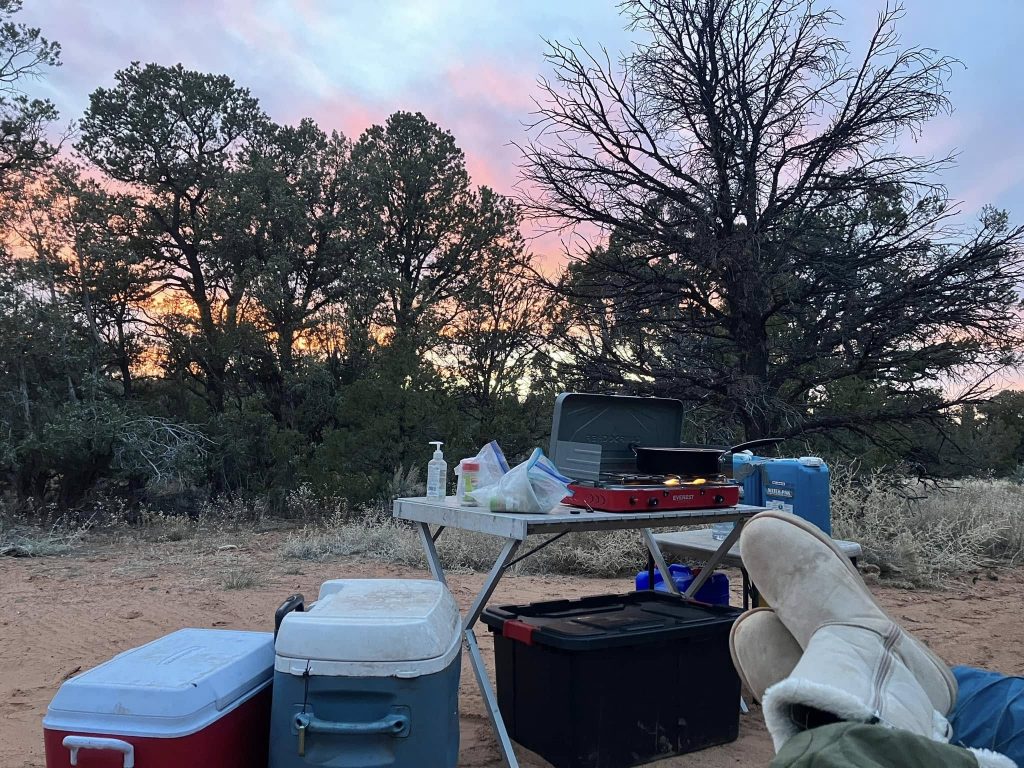
A “Joan’s eye view.”
Note: I suggest using propane as propane is easy to use, convenient, and safe. However, those 1lb green fuel bottles add up in cost. Here in Moab, those green tanks are often for $10+ each!
Instead, I’d purchase a $20 propane adaptor so you can use it with a standard BBQ-style propane tank. The refills are less expensive, and you do not have to worry about fuel on a long weekend. You can also purchase smaller sizes if the 20lb tank is too large. We find the 5 lb size works well and spend under $5 for a refill.
My checklist above works well for pots, pans, and utensils. However, there’s no need to purchase expensive pans and potential pots from the outdoor store. An inexpensive non-stick frying pan from the discount store or similar works very well with an ~9″ pan about the right size. The pan is thicker, less expensive, and does not burn as quickly as outdoor store frying pans. Pair it with a simple set of 4 quart and two-quart pots, and you have a versatile set for two people for cooking meals, heating hot water, and packing quickly. Or buy the basic set you find in many discount stores for about $50 or less.
Similar logic for the kitchen utensils. Outdoor-specific utensils also tend to be more expensive than their discount store counterparts.
An eating kit of cups, bowls, plates, and eating utensils makes sense to purchase an inexpensive set for about $25 for a two-person set. I’ve used a similar set since 2007. Don’t forget your favorite coffee mug as well!
You’ll want to purchase a cooler to keep your beverages and food cold—no need to buy a $350 tacticool lifestyle cooler. We use an Igloo cooler initially purchased from Costco well over a decade ago, and we keep our food cold before needing new ice for roughly five days just fine. That version is no longer available, but similar ones seem to work well enough. Or you can buy Igloo’s tacticool one, too! Or, if you have the room, get a boat cooler.
Quick Tip: Take many of those corporate schwag or volunteer give-a-way water bottles/bladders and make ice blocks in your freezer ready to go before a trip.
Another Quick Tip – Scaps of foam in any cooler’s space add a cheap, effective, and easy way to make the cooler even more efficient.
Keeping with the budget vs. cheap theme for water jugs, I’d eschew disposable water containers. You are better off purchasing a sizeable reusable water jug in the long run. We’ve used the Aquatainer style ones for many years now. A seven-gallon one lasts two people a long weekend and costs $20.
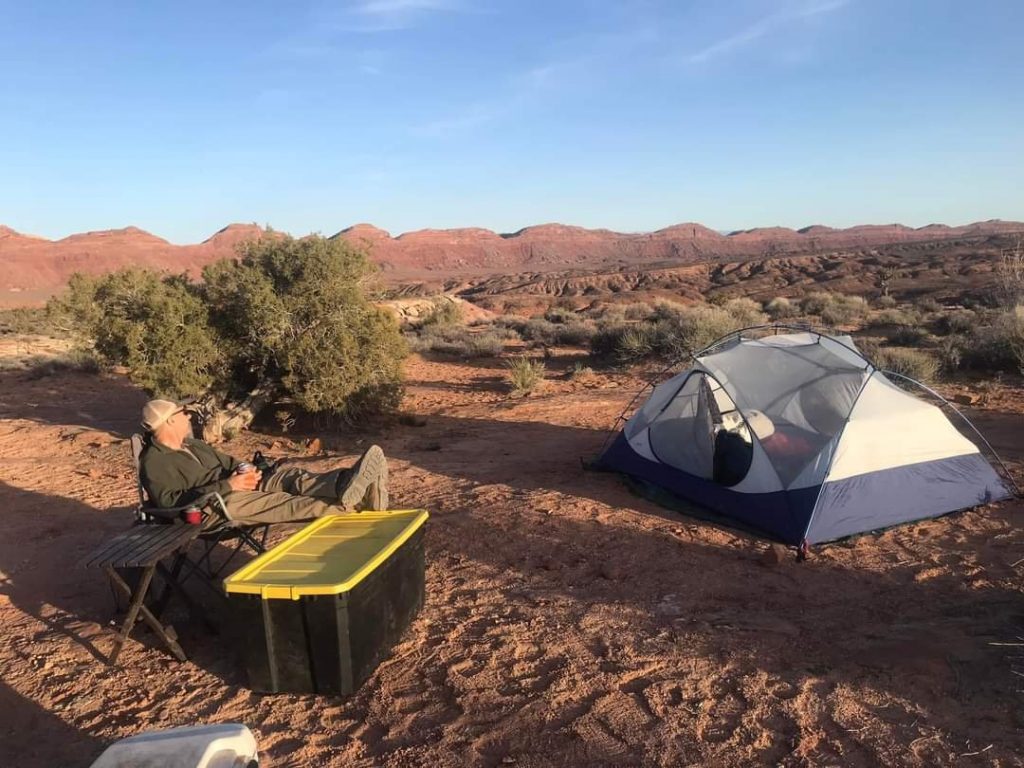
If you are starting camping, you probably camp in established campgrounds with amenities such as picnic tables.
However, you’ll want a table as you expand your comfort zone and camp in free, dispersed areas.
I find a children’s Lifetime table perfect for holding up the heavy water jug. Additionally, the Alps Mountaineering camping table (regular length) gives enough room for the stove and a cooking area and is stored efficiently. At first glance, a total cost of $165 does not seem budget-friendly for two tables. However, we do not need the amenities of an established campground. Amenities that quickly add up when spending $25 a night in many cases. When we stay at an established campground, we do not have to take over a picnic table that our friends without similar tables may need.
Lastly, I’d invest in a 5-gallon utility bucket. Found at your local hardware store with a lid, it costs $5. Perfect for putting in a garbage bag and recyclables (placed on the bottom of the bucket under the bag), it prevents the garbage from leaking over the back of the vehicle when you drive home and prevents rodents from getting inside. Or you can buy the $70 version to pair with your tacticool ice chest…
A kitty litter bucket also works well; we’ve used it for a few years.
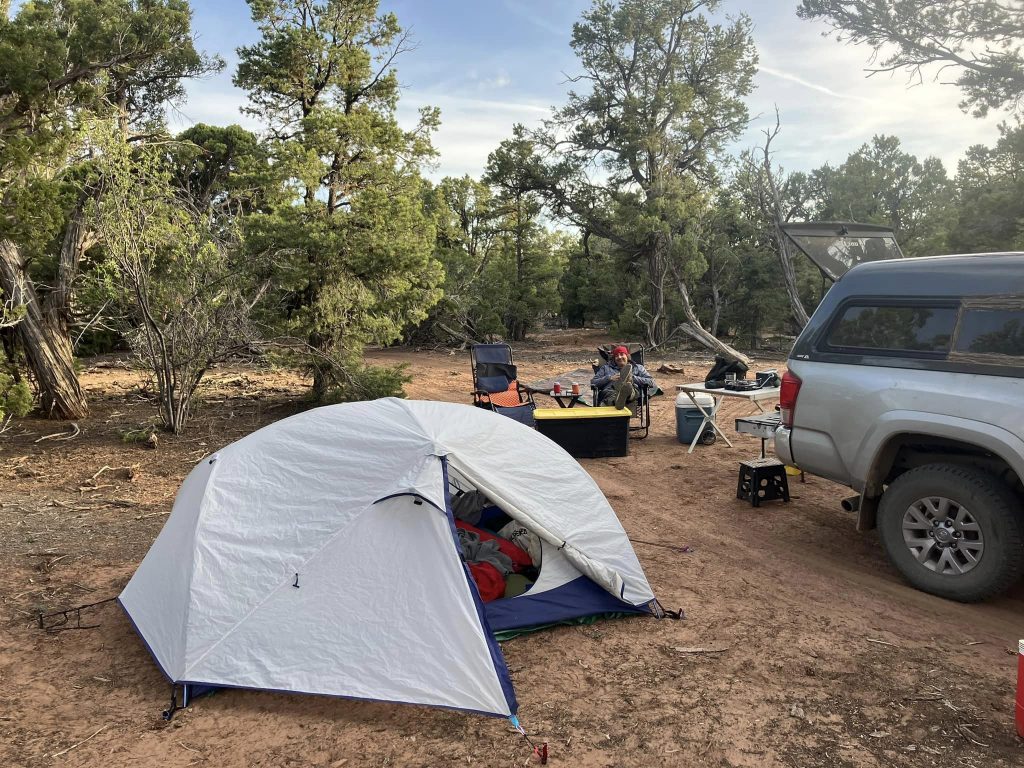
Our campsite photo from Joan.
Clothing
Though you may have some or even most items below for day hiking, many people new to overnight activities may not have the essential clothing for comfort during colder three-season conditions.
Packing the following items in your overnight duffle will make you comfortable in cooler nighttime conditions and not just summer temperatures.
Here are the essential overnight clothing items I suggest if not already in your day pack-
- A 100 wt fleece pullover serves as a very versatile item and is the piece of gear I wear in all four seasons. Any inexpensive one works fine. Heck, your local thrift store probably has one for $10 or less.
- Pair the above fleece with a heavier 200 wt fleece jacket for increased warmth and layering. As with the above, any fleece jacket works well enough and is often found cheaply at the thrift store.
- A light puffy jacket adds a third layer for particularly cool-to-cold evenings. There are many ones in the ~$30 range. They are not as light or of the same quality as those for backpacking that we use, but they fit in the category of “good enough,” especially for camping. Throw on the puffy with fleeces above, and you’ll find yourself toasty. (Note: These light puffies resemble an early fall jacket more than a deep winter one. See this article for more discussion on the puffy types. These light ones provide the most warmth when paired with other layers. )
- Add an inexpensive fleece beanie and a pair of light fleece gloves to these clothing layers.
- A pair of long underwear tops and bottoms also add warmth when around camp and sleeping. The ColdPruf ones are inexpensive and effective.
- A pair of track or wind pants goes quickly over your shorts, adding a surprising layer of warmth when in camp.
- Don’t forget to pack a pair of warm wool or fleece socks.
- If you need good rain gear, that’s a good “bang for the buck,” I used to love the Red Ledge brand, but this long-time staple seems out of business. The Columbia rain jacket makes a similar option. For pants, in my opinion, any budget option should work fine.
I keep much of my clothing in a “go-bag,” so I’m always ready for camping.
…and throw all your personnel gear and apparel in the bomber and inexpensive flyers kit bag. Only about $30 used. It will swallow your gear and take a beating.
MISC
- Don’t forget a camp chair or two. Get a step up from the cheap ones from the grocery store that are a bit more durable and inexpensive.
- Get an inexpensive USB-charged headlamp or two for light at night for general camp chores. A solar-charged lantern or two works well for overall lighting in the tent or campsite. And they produce many of the same effects of a campfire without the mess and danger. Joan and I enjoy using the sub-$20 and the sub-3oz “candle lantern style” one in our tent for camping and winter backpacking.
- Here’s a curated list of popular budget choices we gave to some friends.
…and organize the gear with plastic totes.
Organizing the equipment and staging is the key to getting out as much as your time bank funds allow. Plus, the totes double as furniture!

The “puffy pants” are popular with many of our friends who get introduced to them. At sub-$20, it is another excellent budget choice to keep you warm.
_______
Car camping is a gateway to outdoor activity for many people. It serves as a valuable adjunct to other outdoor activities as well. Good quality camping gear need not be expensive.
There are plenty of affordable options that last for years and will get you outdoors with many memorable destinations.
And getting out as much as possible is the most valuable piece of “gear” overall.
Great advice, Paul! Personally, I’ve obtained much of my budget car camping gear at the local Army Navy Surplus Store, Costco, etc. As weight and bulk is not really an issue when car camping as it is with backpacking, there’s really no reason to spend a lot to get started.
A good chunk of my gear came from Costco and the surplus store as welll. In particular, I love the flyers kit bag! Our packrafting gear “lives” in one of those bags, Joan has one she uses all the time, and we have floating one that somehow always gets put to use. Awesome item.
All great info. I may have missed it, but, what are gutter nails for?
Ah, I should have linked it and explained more. I always carry gutter nails as they are inexpensive, but effective stakes I use for the tarp.
https://pmags.com/quick-tip-gutter-spike-nails-as-tent-stakes
I’ll update it. Thx!
[…] see and experience some stunning scenery with a full-service outfitter (and by that, I mean me with our camp kitchen and the loaner gear! […]