As a person takes more jaunts into the wild spaces, they invariably want to see more than pre-made routes found on such places as AllTrails or attempt their version of longer routes.
For many years I’ve strung together my routes that take in cross-country, canyon bottoms, ridge lines, obscure jeep or ATV tracks, and often connected with maintained single track.
They can range from a weekend at a time to something just under or a bit over 100 miles, or even take in multi-modes of transit as I did recently.
If you have not planned a route before, it can seem daunting.
But it’s not hard once you break it down into steps and consider your personal skill, comfort, fitness, and safety levels.
Here are the steps I use to plot out routes of various lengths. I gave an overview at one point, but here’s a bit more of a deeper dive into my planning process. I don’t always use all the tools in the kit listed below, but the overall process ends up the same at some point.
As always, I don’t claim it’s THE BEST method, but I do claim these methods work for Joan and me. (Joan’s no slouch herself when planning out backcountry routes.)
There are few things as satisfying to me in the backcountry as dreaming of a route, planning the route, and then making the route a reality.
Maybe these ideas will help you achieve that goal, too.

- What’s the trip goal?
The first question to ask yourself is what you plan for the trip goal. Walk a ridge of mountain group? Connect certain peaks? String together a geographic area? Etc.
The journey you plan to take defines the route you plan.
When I paddled and walked for ~250 miles, it came out of a plan to connect the four NPS units in the Southeast Utah Group. Once I decided on my goal, I then planned the trip.

- Get the big picture
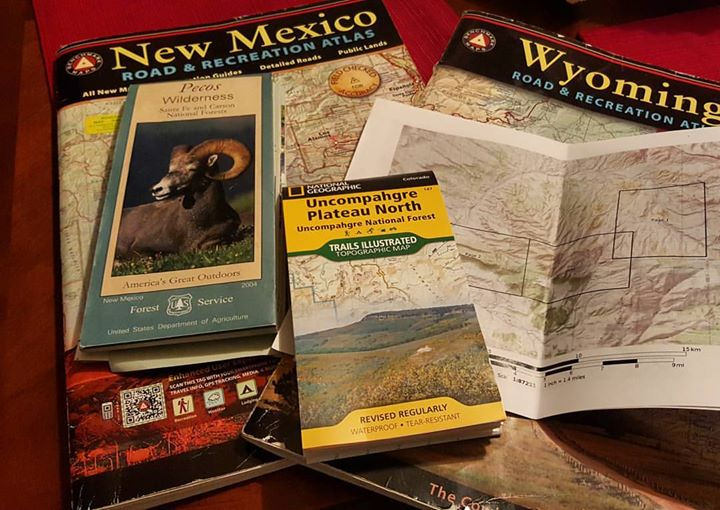
We find getting an overlook of the region helps immensely, even if we know the area. Larger overview maps assist in figuring out the general flow of the route and where to find potential routes, trails, or scrambles to connect the areas easier than a phone screen or a zoomed-in area on a laptop-sized monitor.
In particular, we use the Benchmark Atlas, commercial print maps such as NatGeo Trails Illustrated, and CalTopo or Gaia GPS on a large desktop monitor.
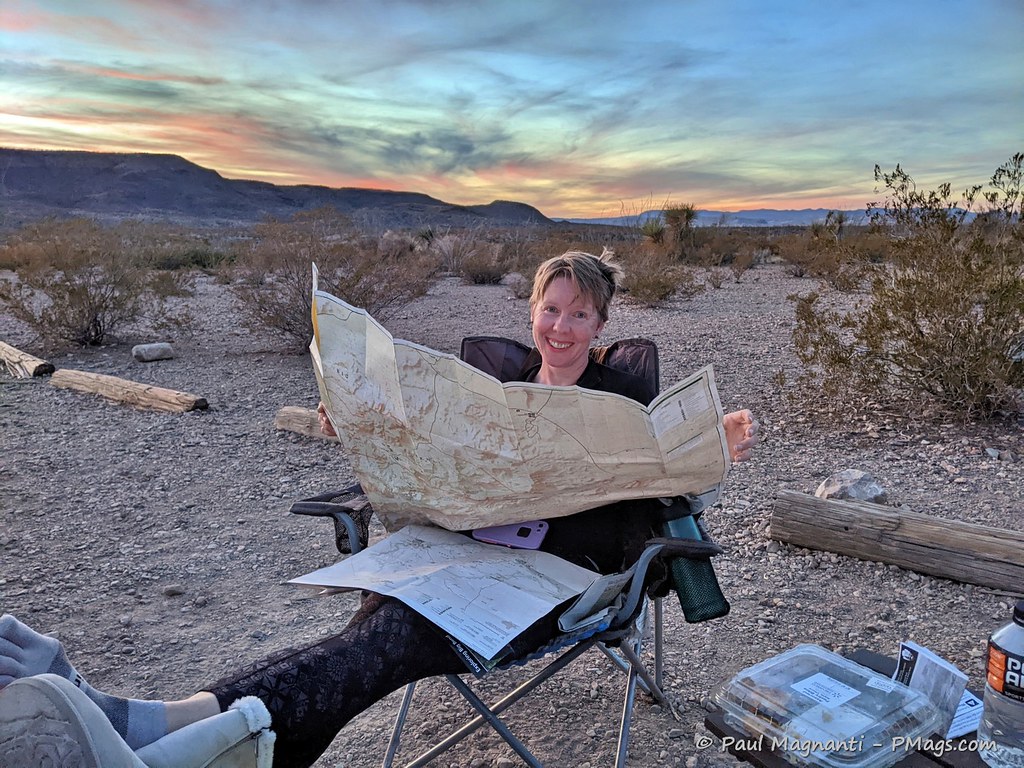
And it works well in the field, too!
- Which way?
Once we figure out the general area, it’s time to plan out the details of the route itself.
The resources above assist in finding well-known trails, jeep tracks, or similar. However, routes vs. trails are the order of the day for more obscure areas or goals.
Gaia GPS has a feature that lists public tracks. Other places to gain tracks include The Hiking Project, The Mountain Bike Project (in particular, single-track trails maintained by local groups not yet on commercial resources), and The Trail Running Project (ditto.)
Your favorite search engine works well for finding local outdoor groups in a given area that maintain trails, routes, or similar and post maps and tracks. Ditto for popular websites with trip report info that often includes a description of the area but also maps and even GPX tracks as times.
And don’t forget guidebooks. Older guidebooks often list barely remembered ranching trails that still exist on the ground in some form that works when planning your route. Your local library can usually get these books through an Interlibrary Loan.
Naturally, take all this info with some grain of salt, as information can get outdated, reported inaccurately, or even (sometimes) provide incorrect info. Your skillset with maps of different types helps to suss out the info, of course.
You’ll want to use the above resources (maps, trip reports, books, etc.) to gather water info, type of potential scrambling, and so on. The web version of Google Earth makes an excellent “quick and dirty” way of scoping out some of this info virtually.
After performing this initial info-gathering, your overall route starts to become more of a concrete idea.
- Plot out the route in CalTopo
Now it’s time to make the research a more tangible reality.
I find CalTopo, and its many features, the most powerful tool for initial route planning. It’s a bit like PhotoShop in that there are many layers of complexity to learn, but the more you use it, the more you realize how powerful a tool is for its purpose.
Once I make this initial route, I export it into GPX or KML format, depending.
The Columbia River Orienteering Club (CROC) put together a tutorial that explains the use of CalTopo well –
- Import KML track into Google Earth
Google Earth lets you import a KML file into it and makes an excellent way of virtually ground-truthing the route you put together with CalTopo. You can follow along the track, see what looks good, and see what you may want to adjust.
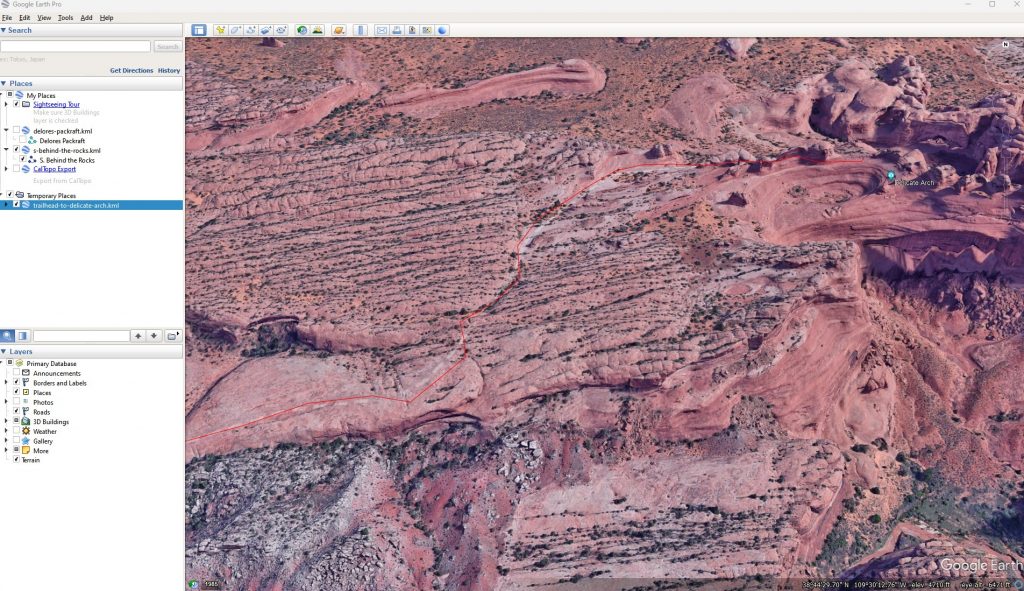
A track imported into Google Earth desktop leads to the obscure Delicate Arch. 😉
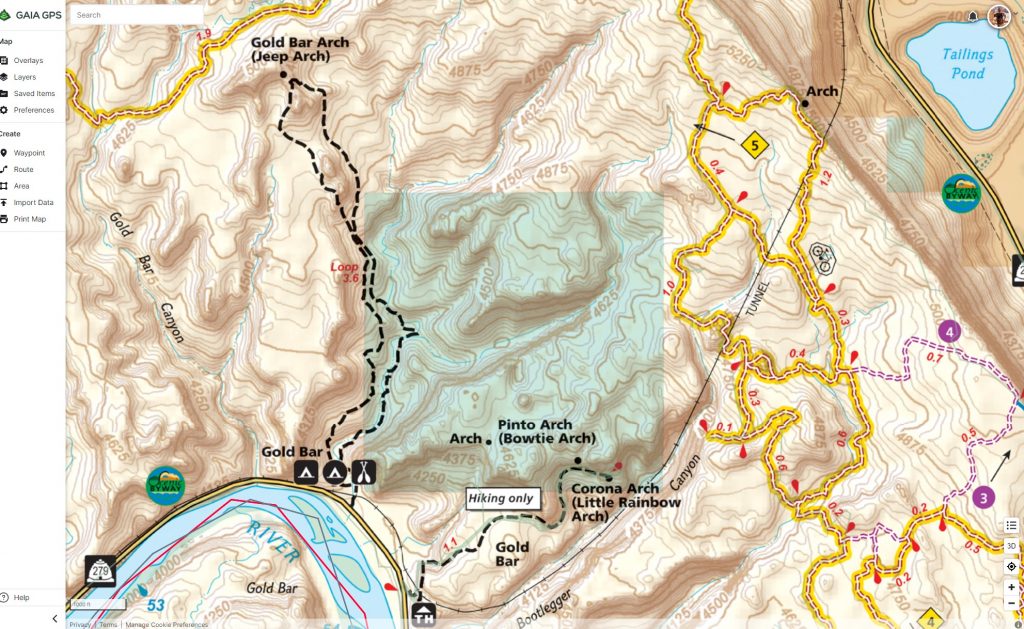
- Import the track into Gaia GPS desktop (or similar)
Gaia GPS works as my preferred mobile device app of choice. There are others. For my part, I imported the routes into Gaia GPS desktop and tweaked the route a bit more. As I use Gaia GPS in the field for the most part, I find the last bit of tweaks easiest in Gaia.
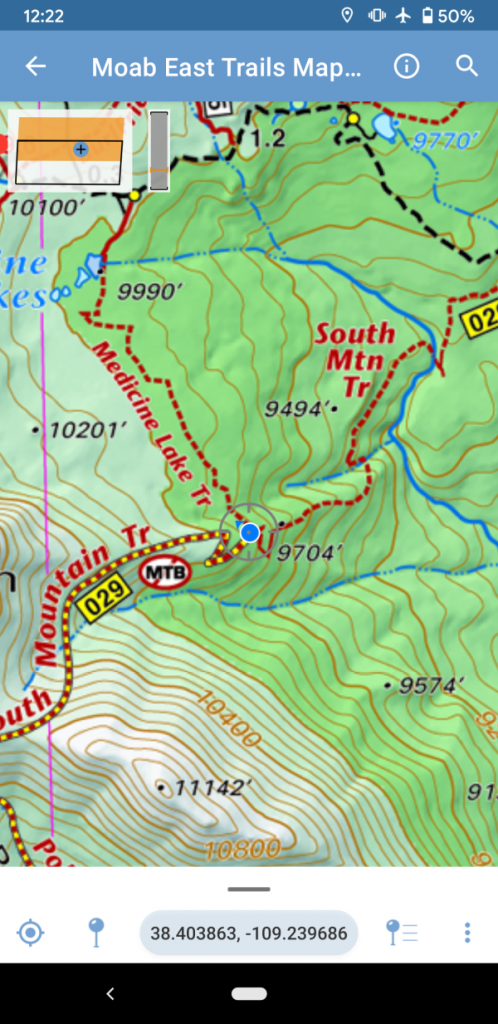
- Download the appropriate map layers for Gaia or other apps
Once you tweak the route, download the appropriate map layers. An advantage of apps over traditional print maps is that you can “carry” many more maps that display additional info or details for a given area. In effect, I will have three, four, or more maps available to navigate the field.
CROC put together a helpful Gaia GPS tutorial –
And I put together one of my rare videos for the map layers I like and why –
Occasionally I’ll import the track into Avenza to make use of commercial map resources such as Latitude 40 as well –
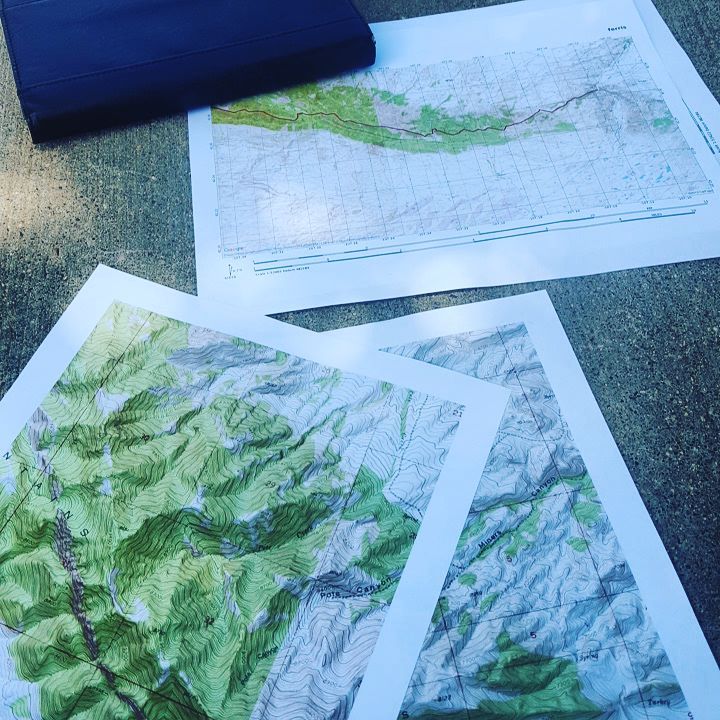
- Gather our print maps
I find large-view print maps helpful in the field, as I prefer them to a phone screen for large-scale views with navigation and planning in the field and as a backup should electronic navigation tools fail. Commercial print maps are my typical go-to, but I find CalTopo prints out the best maps with an easy-to-use interface for areas without this resource. I prefer 11″x17″ when available for easy reading and a more extensive overview.
- Wrapping it up and planning the logistics
Once you have the route planned out, imported into your GPS app of choice, and procured the appropriate maps, it’s time to figure out the logistics.
I find Summit Post a valuable starting point for permit info, camping restrictions, and similar red tape in a specific park, wilderness area, or similar.
Lastly, look at the potential route and see which town or commercial area, such as a campground, looks promising for resupply purposes. Again, use a search engine, see the services available for a specific place, and plan accordingly.
PCO Josh Z.
- Go forth and journey!
Lace up the shoes, grab your permit, put one foot in front of the other, and make all your planning a reality.

OMG, if I had only known about CalTopo earlier I could have saved not only money, but a lot of time. It appears to be significantly similar to the original TOPO discs (circa 1998 of which I have a few inlcuding Utah). Thanks for the link to the tutorial. Now I have to get busy using it for the Color Country National Scenic Trail concept. It may take me a while since I’m new to using portable digital devices to export to my phone, but that’s how I’ll learn. Never too old!
It’s a great tool! Pair it with Google Earth to get a feel for what the terrain is like overall.
[…] GPS has long been an integral part of trip planning and execution for Joan and […]