Backpacking is an activity that rarely means taking a “one-size-fits-all ” approach.
Different trip goals, hiking styles, and preferences mean different gear and clothing for various trips.
.And these cold and wet environmental conditions certainly dictate taking a different tool kit vs. more benign conditions.
.
Backpackers, of course, encounter all kinds of weather:
-
Muggy summer humidity
-
…and every mix in between.
But for me, the most challenging conditions aren’t winter ski trips or the desert heat. It’s those mid-30s to mid-40s days (or ~2C to 7C for those in the civilized world) in places like the Appalachians or the Pacific Northwest—when rain, sleet, or slushy snow keeps on getting piled on continuously. Colorado or Utah receives it in the shoulder seasons, but usually only for a day or two.
Given the choice, I’d take dry, cold, and powdery snow over cold rain any day. But choice isn’t always part of the deal. Sometimes you need to get outside before you go stir-crazy, or you’re pushing through a shoulder-season long trail hike.
So how do you stay comfortable? Notice I said comfortable, not dry. In this kind of weather, staying 100% dry for days on end isn’t realistic. What is realistic is managing your layers so you’re cool and a little damp while hiking, then warm and dry once you’re in camp.
The usual caveat: Everyone’s different. I hike hot but cool down fast, rarely take long breaks, and build my system around that. Joan has different challenges and physiology as discussed previously [1]. Take some of these ideas and apply them to your hiking style.
Originally published Jan 2014; updated Sept 2025.
[1] I suggest reading that article for bonus techniques not covered by this one.
Base Layers
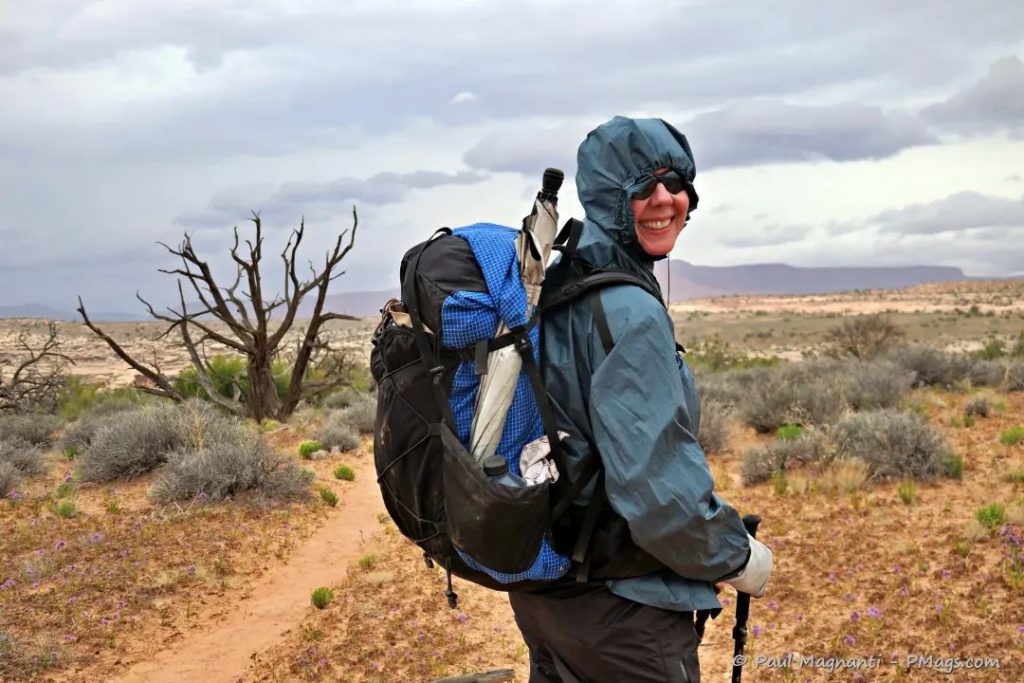
You will want to wear synthetic or merino wool base layers. In these conditions. Some people like bringing a pair to change into when in camp. I’ve noticed that since I’m on the move all day, my base layers tend to stay damp or even dry, rather than wet. They will dry out quickly once I am in my shelter and sleeping bag or quilt. For various reasons, I prefer synthetic base layers in these wet conditions vs wool, but that is my personal preference.

It is not cold or rainy. But it is favorite photo of Joan AND it shows off her cool base layer!
If the weather leans more towards slushy than rainy, I prefer thin wool socks that are slightly thicker than standard trail running socks for my shoes. If you find yourself hiking through particularly slushy conditions, the poor person’s VBL of BagTex works surprisingly well.
I should also mention that, although I don’t need extra-long underwear, I do take an extra pair of warm socks and consider it a part of my “snivel gear.” A warm and dry pair of socks not only is a psychological boost that helps keep me warm at night, but also keeps my sleeping bag a bit cleaner.
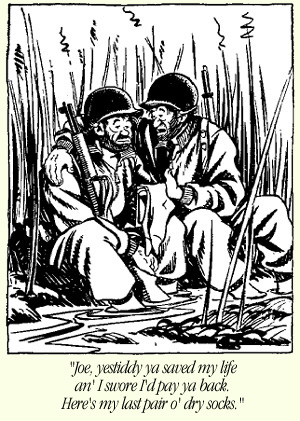
From the WW2 era, “Willie and Joe” comic by Bill Mauldin. As a side note, Bill Mauldin served in the 45th Division—the same division as my grandfather.
Joan, who runs colder than I, takes time to warm up and suffers from Reynauds, will take “sleep layers.” Her go-to piece in these conditions is the no-longer-made Squak Woolie, which has served her well for the past few seasons. As an unrelated note, this layer has become one of my favorites for winter use; this similar layer from Amazon looks like a potential replacement.
Hats
In recent years, I’ve started using some form of a neck gaiter (Buff). A very versatile piece of gear, it is warm when hiking, dries quickly, and fits under my wide-brimmed hat. Some people prefer to use the hood from a rain jacket, but unless it is particularly windy and nasty, I personally do not like using the rain hood. Again, this is just my personal preference.
When it’s consistently overcast or I’m in the trees, I’ll swap the brimmed hat for a ball cap. And while I don’t care for sun hoodies in hot weather, I’ve grown to appreciate them in cooler conditions—the hood works nicely with my ball cap of choice to trap a little extra warmth.
I often carry a simple fleece beanie—nothing fancy, just light, compact, and warm. I find a dry and warm hat is key to sleeping well. The beanie can be combined with the Buff or layered under other hoods, and the Buff itself dries fast and adds just enough warmth at night.
Joan takes a similar approach, often packing a puffy hat for nighttime to provide extra insulation when temperatures drop.

Joan in the Southeast Appalachians
Hands
I do not like one all-purpose glove or mitten. For all four seasons, I like the combo of wool liner gloves and a shell mitten. This combo is versatile and allows me to stay warm and comfortable in all kinds of conditions. Since cold, wet, and nasty weather tends to make the clothing wet at some point, I’ll take a 1-oz or so weight penalty and carry an extra pair of liner gloves, as will Joan, in certain conditions.
I’ve yet to find the “perfect” rain mitt or glove, and Joan finds similar results.
I’ve even started trying out these mitts now in my truck at all times.
Oversized kitchen gloves, milsurplus overmitts, and larger rain mitts have all had their place in our kits.
In particularly cold weather, I’ll also bring simple fleece overmitts (MYOG courtesy of Joan!) to wear over my liner gloves. Joan likes to use surplus trigger mitts in a similar way.

XL gloves next to Size 5 liner gloves for comparison.
Outer Wear – Insulation
I carry a puffy strictly for camp. It keeps me warm when I’m standing around and adds a boost to my sleep system. But as a rule, I won’t hike in it. Even synthetic insulation eventually loses loft when it’s exposed to sweat and body moisture, compromising the insulation and losing its effectiveness.
In the cold, wet, and sloppy conditions we’re talking about here, a puffy will almost certainly get damp, and good luck drying it out on the trail. That’s why, if I get cold while hiking, I reach for fleece instead. Fleece doesn’t collapse when wet, still insulates when damp, can be wrung out, and dries far quicker than a puffy.
There are different types of fleece, and all have their pros and cons.
-
100 wt fleece – A long-time go-to for cold and wet conditions. It prevents overheating, performs reliably when damp, and offers a solid balance of weight, cost, and warmth.
-
Grid fleece – In recent years, we’ve gravitated toward grid fleece for colder, active use. The Squak fleece has been a favorite in our kit.
-
Alpha fleece – The current “hot” fabric, but I don’t love it for active use. Jan from Nunatak summed it up in a way that mirrors my thoughts.
“Clothing: Alpha Direct and 7d based garments are FKT stuff, imo. With that I mean occasional use for very special trips only. Alpha sheds, thins, and rips readily. Besides environmental impacts, the degradation lowers the performance faster than any other base layer I’ve owned.”
For specific scenarios, Joan and I will use Alpha fleece, and it works nicely in the right conditions. But for prolonged, active use? We’ll stick with more durable options.

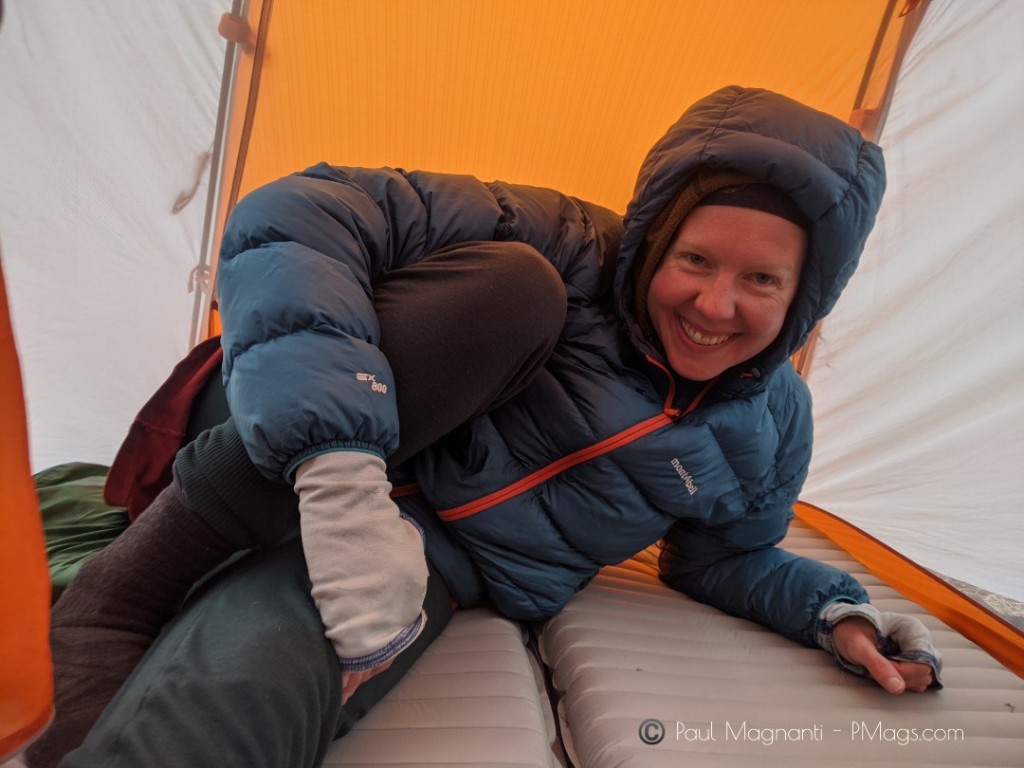
Joan likes her selfies of us. It also shows us in camp on a cold day in February.
I shy away from using down puffies during rain and prolonged moisture and prefer a synthetic layer, such as my long-time favorite of the Montbell Thermawrap. Joan uses a similar layer from Nunatak as well, which no longer appears for sale as of this date.
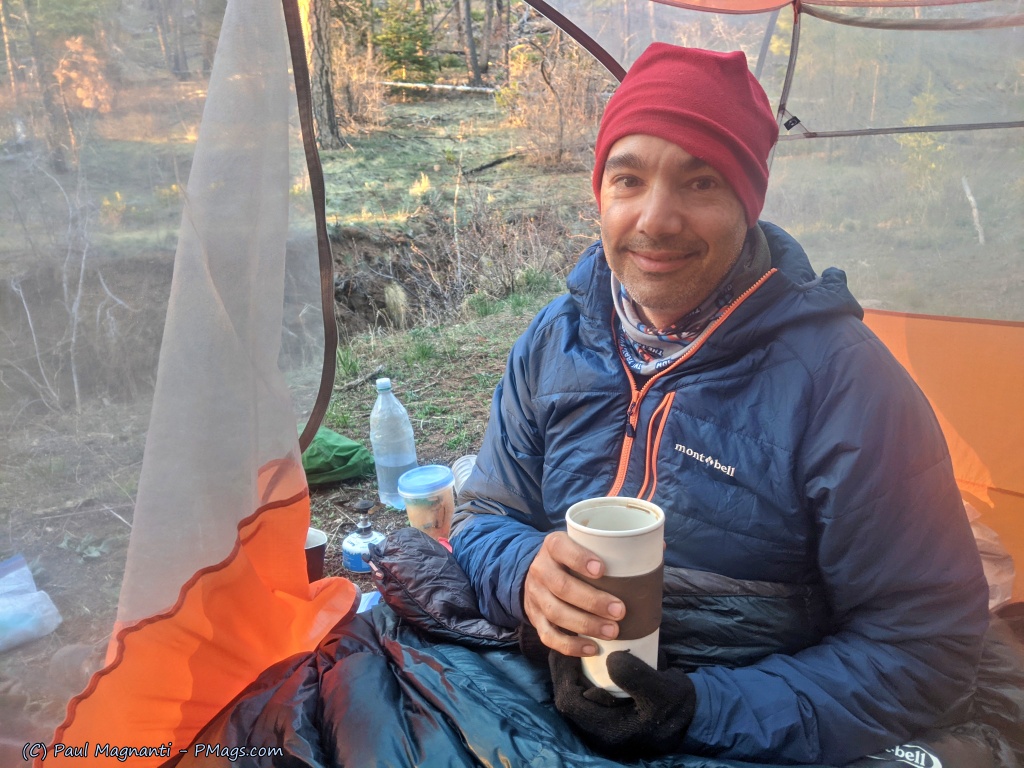
I was a little sleepy before my morning caffeine. 🙂
A useful adjunct at night, especially if you run cold, as Joan does, are M65 liner surplus “puffy pants.” These military surplus pants usually run under $20, are reasonably light, and insulate well. Being synthetic, they also perform better in damp conditions. The price-to-performance ratio is fantastic.

While car camping is the only way I can show the pants themselves.
Outer Layer – Shells
Ah, rain gear…
My sardonic take on rain gear remains accurate in my opinion –
| I feel like it doesn’t even matter every jacket has some issue
You have achieved Zen enlightenment that most backpackers take years to achieve.
I am not shitting you.
In a magical universe I’d love Frogg Toggs with pit zips that lasted for regular use.
I also wish I was tall, handsome, and independently middle-class but instead I’m short-ish, look like a reject from a 1990s mob movie, and watching my salary have less and less purchasing power with each passing year.
Cheers.
The point is: all rain gear is a compromise. But it’s still something you need in the kit.
A fleece on its own works great in cold, dry, calm conditions. Once it’s cold, wet, and/or windy, though, you need some shell.
-
Wind shirt – In cold, drizzly or windy, damp weather, a wind shirt shines. Your fleece will be damp but still functional, and the wind shirt keeps you warm without the sweatbox effect of rain gear. Personally, I overheat in a wind shirt overall, but YMMV.
-
Hard shell – For steady cold rain or slushy snow, a true shell becomes necessary. Frogg Toggs are fine for occasional rain or light wind protection in three-season use, but for continuous cold rain or bushwhacking, I prefer something sturdier like the Montbell Trekker.
The beauty of layering is mixing and matching:
-
Drizzly but not that cold? Wind shirt + base layer or fleece
-
Cool, dry, no wind? Just fleece.
-
Cold rain? Hard shell over everything.
Side note: We’ve tested thin silpoly jackets and similar WPB “ultralight miracle fabrics.” Eventually, they all failed. Frogg Toggs aren’t durable either, but they’re light, cheap, and surprisingly effective in most three-season conditions. Once it gets colder, we both switch to heavier-duty shells.

In Bryce Canyon over Thanksgiving. Very sloppy and wet snow.
Our strategy with shell pants is similar. Frogg Togg pants, however? Hot garbage. Joan’s had better luck with Montbell Versalite Pants in warmer conditions, though they’re not ideal once it gets colder and in prolonged rain, Joan noted they wet out.
We’ve also used silpoly options from places like LHG, lightweight “dancer’s” wind pants, or gone with heavier-duty rain pants, like the Montbell Trekker pants, when conditions call for it.
Outer Layer – Other Options
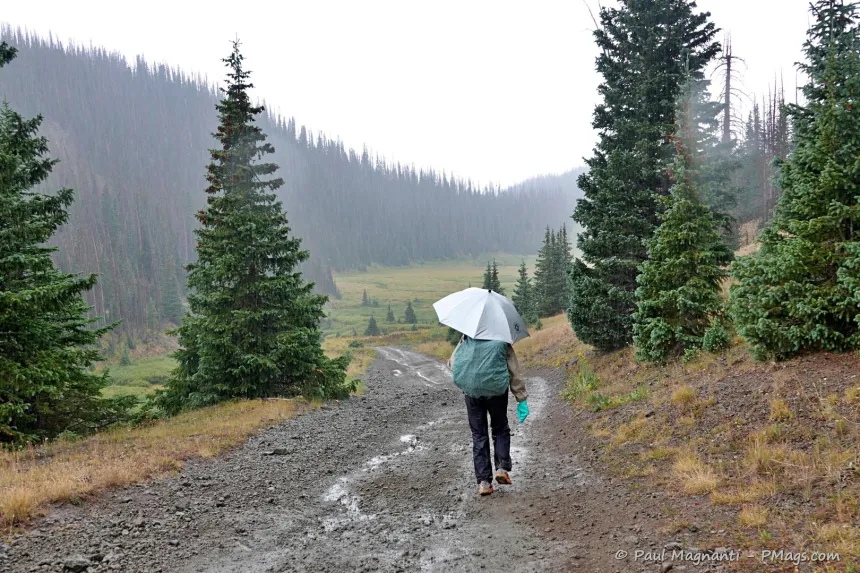
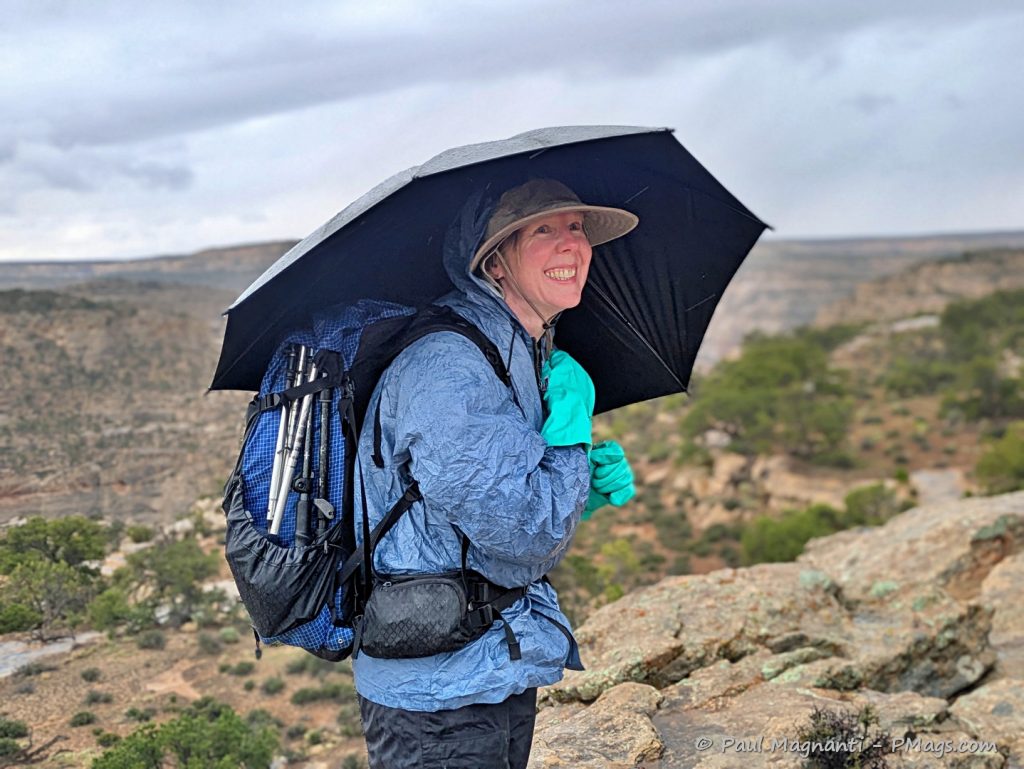
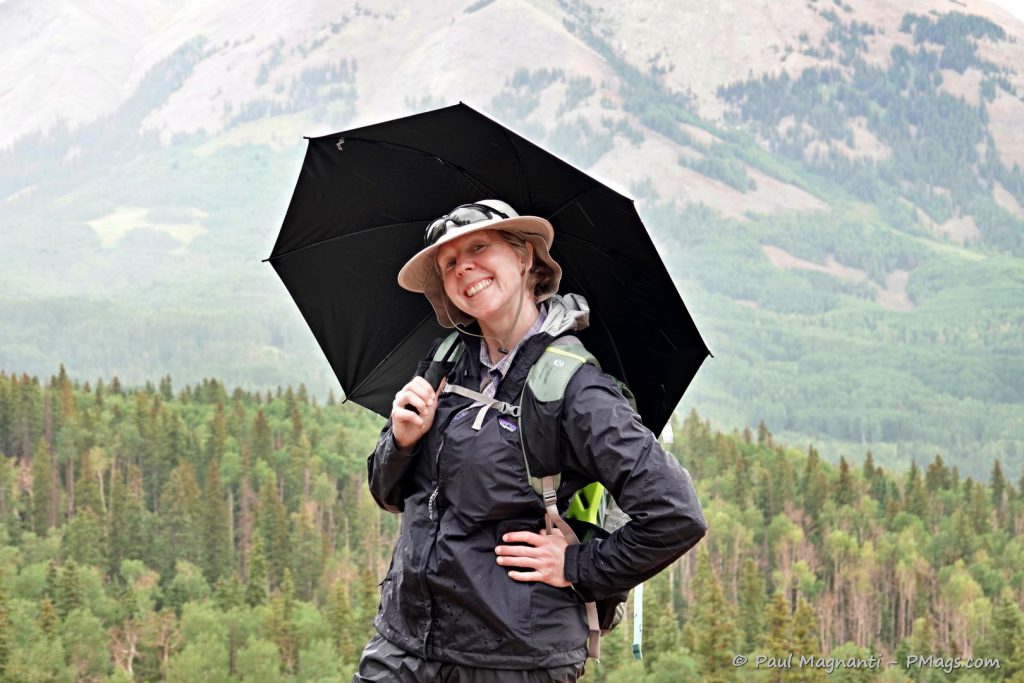
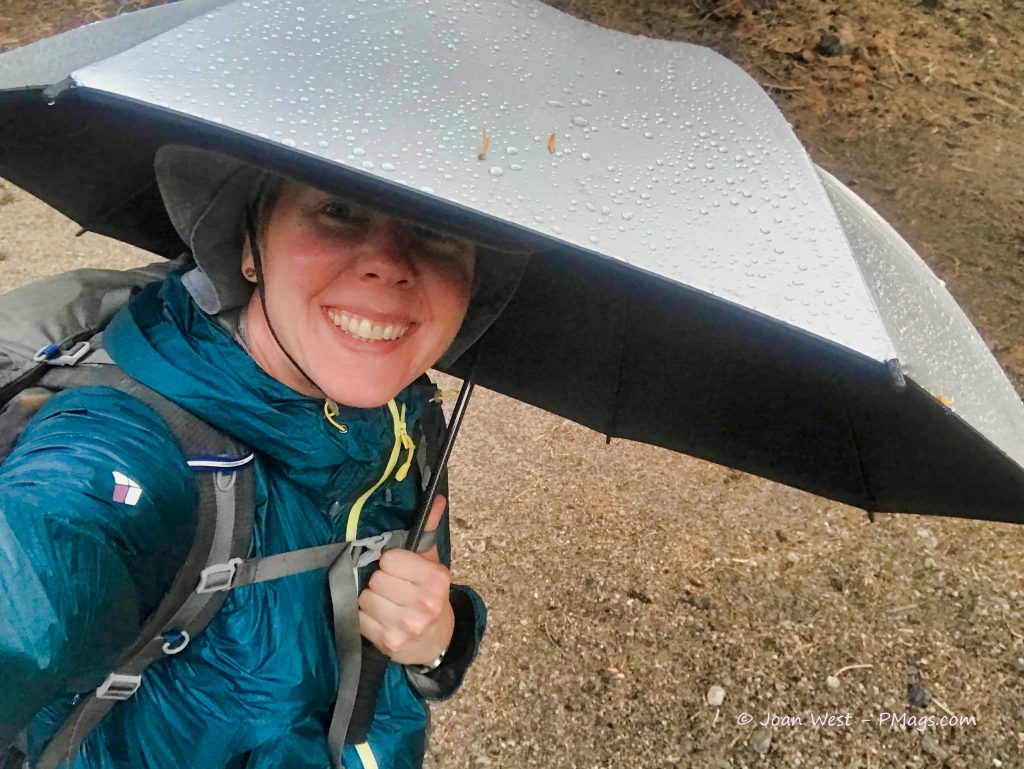
Joan is a fan of hiking with an umbrella—excellent protection on breaks and just in general. The trade-off is that umbrellas don’t do great off-trail or in overgrown terrain, but when they work, the versatility is hard to beat. It’s a key part of sun protection for Joan as well.
Joan will also swap in a Frogg Toggs poncho for extra warmth and protection in wooded, less wind-prone conditions.
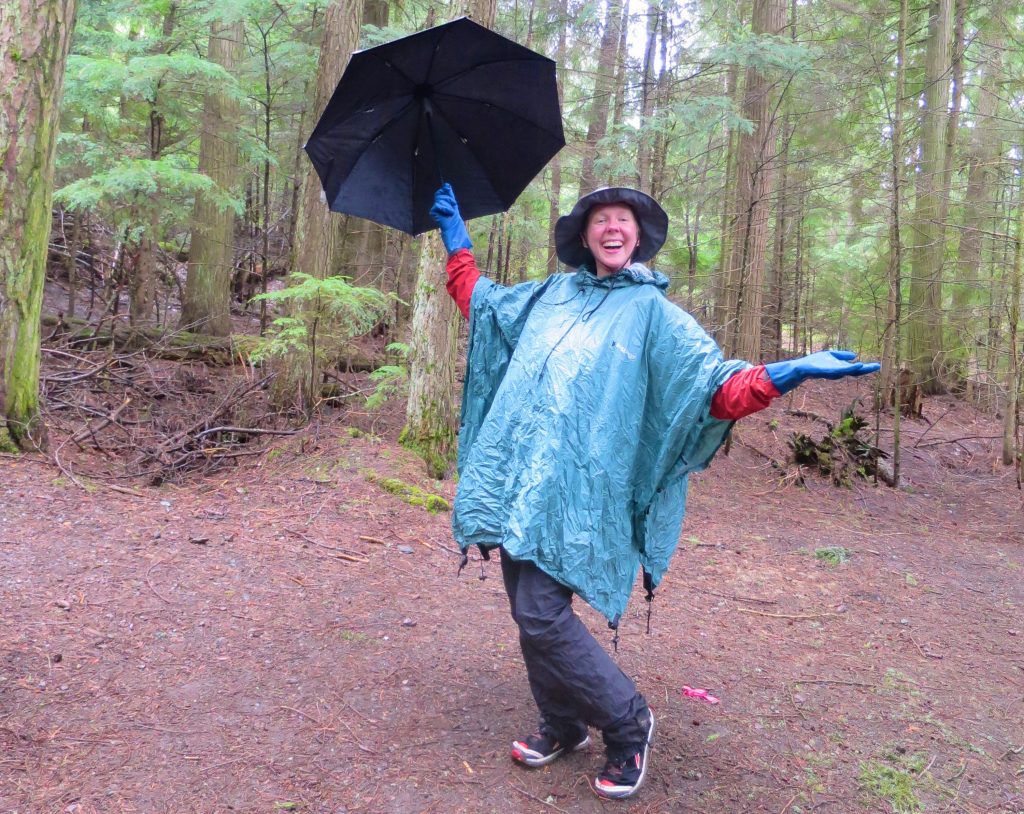
Joan’s been using this system and sporting the Backwoods Mary Poppins look for years.
Shelter
For cold, wet weather, I’ve gone to both ends of the spectrum: a double-wall shelter or a minimalist flat tarp.
For years, I used a larger 8′ x 10′ silnlyon tarp —which offers a lot of versatility. Pitched well, it’s a roomy and cozy space for one and provides impressive weather protection. At under a pound (about half a kilo), a tarp is exceptionally light, and it dries quickly.
Material choices matter:
-
DCF tarps are lighter and don’t sag when wet, though they’re pricey. As the saying goes, losing kilos is cheap; losing grams is expensive.
-
Silpoly tarps have become a solid middle ground—better than the old silnylon in terms of weight, durability, and weather performance.
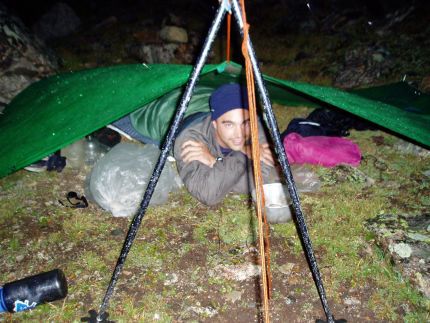
Using a silnylon tarp back in 2003.
The downside of a tarp is that in exposed areas, such as above treeline, you really need to pitch it low and stake it out firmly. In dense, wooded terrain, finding enough space for the footprint can be a challenge. And if you’re hiking with a partner, well….let’s just say it can lead to some spirited discussions. 😉
Joan and I have had a good experience with a Copper Spur HV tent for these cold and wet conditions. Split between us, it’s a manageable 2 lbs / 1kg for me and 1 lb / 500 gr for Joan. The double wall shelter helps (but not completely) mitigate condensation, keeping our quilts dry, and keeps in the warmth better for us as well.

Tarp-Tents and Single-Wall Shelters
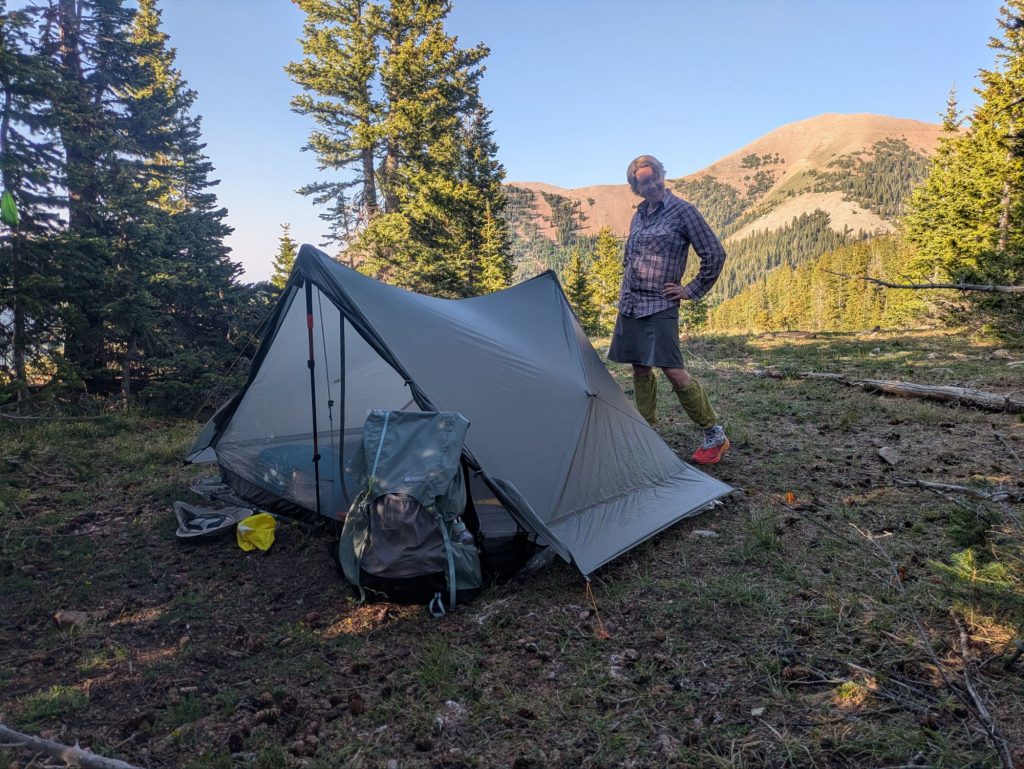
A middle ground between a flat tarp and a double-wall tent is a tarp-tent or similar single-wall shelter. These designs are more enclosed, sturdier, and easier to pitch than a tarp for many, while still lighter than a full double-wall tent.
Like everything else in the gear world, though, it’s a trade-off. I’ve found tarp-tents work best in places like the Colorado Rockies, where you can count on a “dry cycle” and use the sun to air things out. In regions with continuous days of rain, they’re less effective. And in cold, wet conditions, they’re far from ideal because of the lack of a dry cycle.
DCF Double Wall shelter
After a gear failure, Joan switched to a pricey but effective Tarp Tent Notch Li double-wall DCF shelter during the thick of Colorado’s “monsoon” season on The Colorado Trail this year.
At 23 oz / 640 g, it’s impressively light for a true double-wall, and it kept both her and her gear dry. She’ll be sharing a more detailed review in the coming weeks.
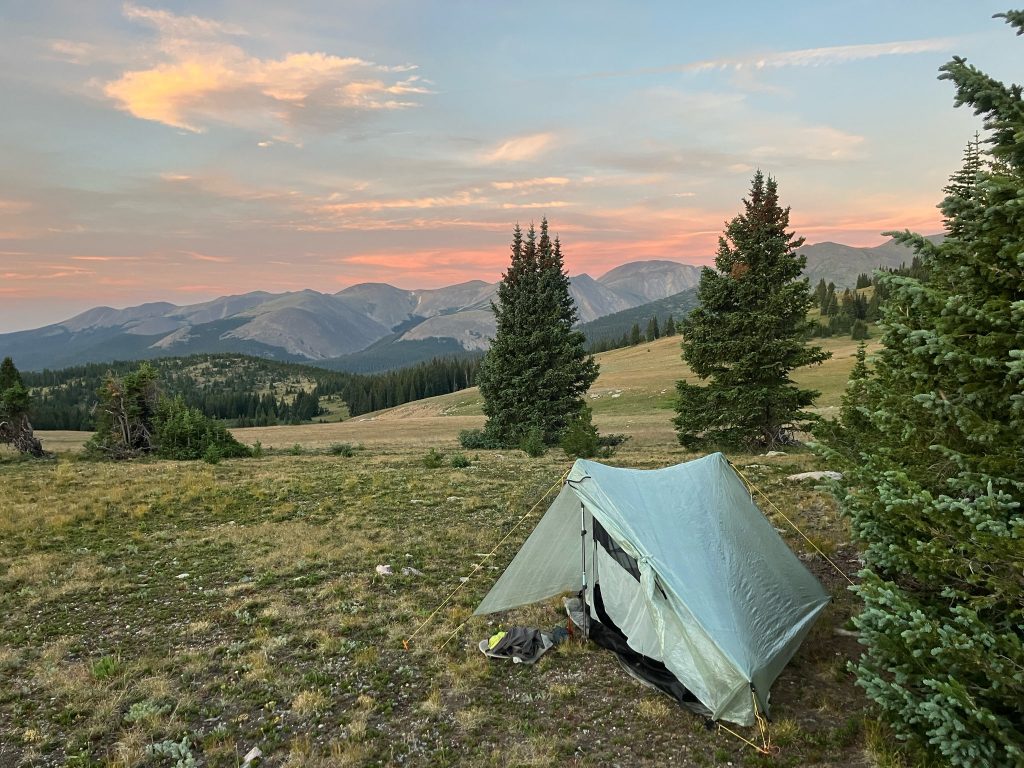
A good photo in ideal conditions. No rain in sight. From Joan.
Trail Shelters (Lean-tos)
In the Appalachians, many trails such as Vermont’s Long Trail, the Appalachian Trail, and plenty of local routes, feature three-sided lean-tos or even full-on shelters that are practically cabins.
They can get crowded on cold, wet days, especially in peak hiking season, but they’re undeniably useful. And if you’re lucky enough to have only a few people around, you’ll have plenty of room to spread out, too.
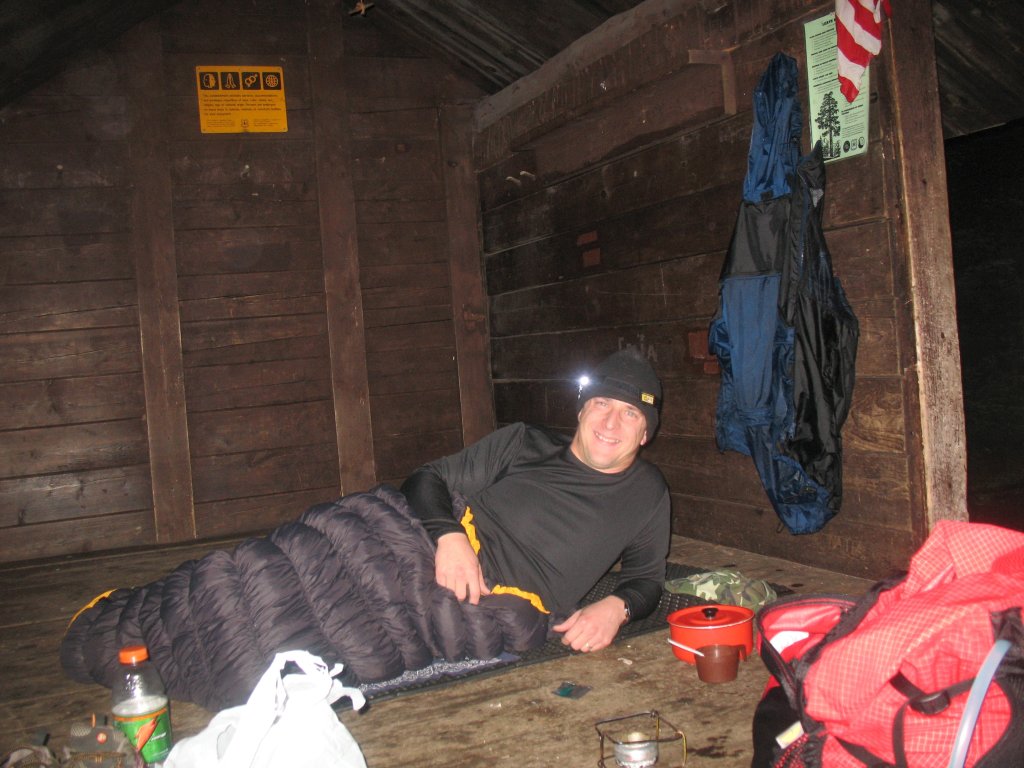
My buddy Tim in a New Hampshire lean-to.
Sleeping bag and pads
Your regular sleeping bag and pad should work fine—as long as they’re rated for the conditions. Some hikers prefer synthetic bags in wet weather, but I’ve found down works just as well if your shelter is large enough that the bag doesn’t brush against the walls. As always, YMMV.
Keep in mind that any puffy insulation (sleeping bags, jackets, pants) will absorb some moisture from the ambient air or your own perspiration overnight, whether it’s down or synthetic. The key is starting off warm and dry. In my experience, mild dampness will usually dry out with use. (Damp, not wet! ) Standard precautions apply: line your pack with a trash compactor bag, and keep your quilt or sleeping bag double-protected in a garbage bag or similar.
As for pads, your normal ones will do unless they’re strictly summer-rated. Make sure the R-value is appropriate for the temps. I like bringing a Z-Lite clone in these conditions. Joan, who sleeps colder, will use a NEMO Tensor pad. For chillier weather, Joan and I have had great results with Therm-a-Rest XTherms over the past few seasons.
Stoves and cooking
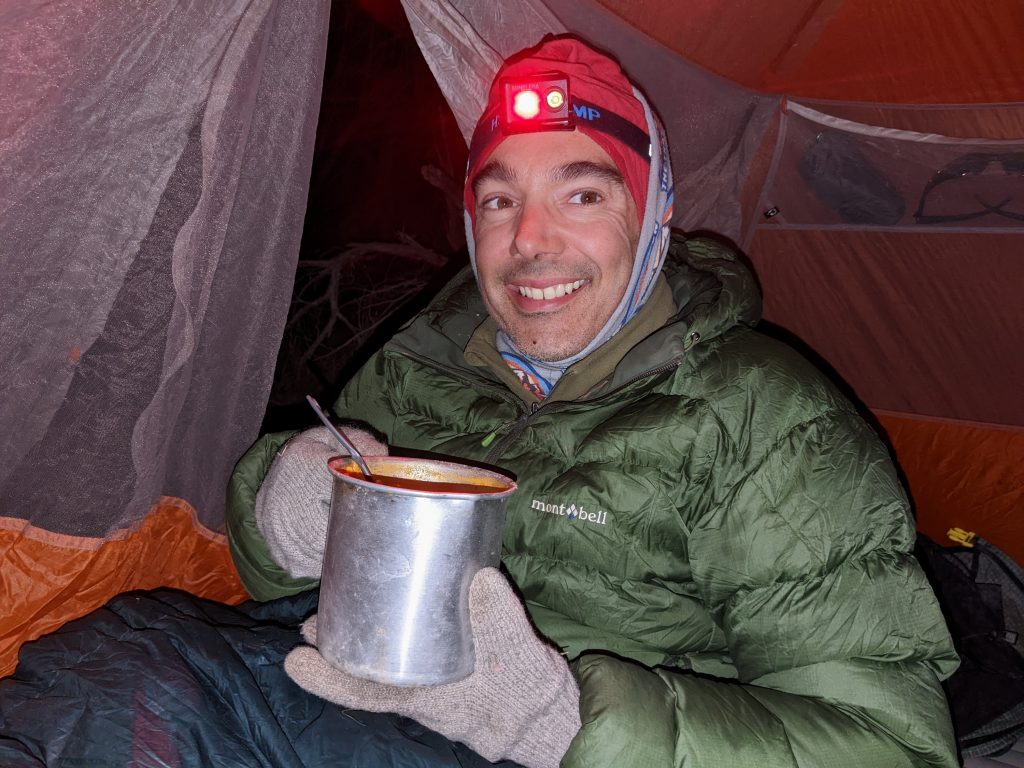
Though I often go stoveless on solo three-season trips, I prefer a hot meal and drink at the end of the day in these kinds of conditions—especially if the weather drags on for multiple days (think early or late season in the Appalachians). It’s as much a psychological boost as anything, but a welcome one.
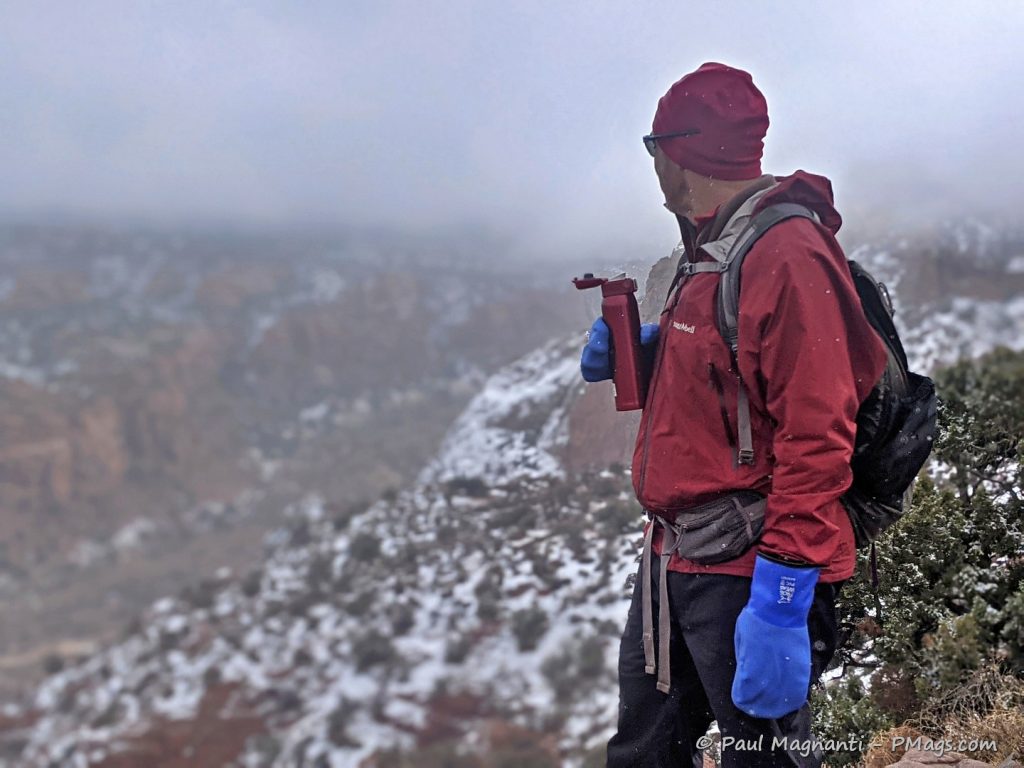
Or any time it dips into cold temps. Hot coffee in the morning = luxury at times!
The type of stove, of course, depends on different factors.
I’ll take a mug during this time, and Joan will often take a lightweight Nalgene bottle that doubles as both a mug and a hot water bottle at night.
Depending on your shelter setup, you may be able to cook right from your bag with the stove just outside. That’s simple enough under a tarp or in a tent with a big vestibule. Just be careful—you don’t want to knock the stove over or start cooking inside your shelter. If you’re in an AT-style lean-to, cooking is even easier.
Of course, if you go stoveless, you avoid all those considerations entirely!
And the rest of the story…
Cold, wet hiking isn’t easy. It takes some extra clothing, maybe a bit more gear, and definitely the right mindset. But with the right mix of preparation and flexibility, you can actually enjoy these conditions. Honest!
There’s no single perfect system—what works for one person may not work for another. Be prepared, stay adaptable, and use the ideas above to piece together a setup that works for you.

And, eventually, the sun comes out.
I wear a 100 weight fleece pullover year round and it’s probably my most essential hiking garment. Stays warm when wet and dries very fast. Virtually indestructibe and inexpensive.
I suspect if I was back in my former stomping grounds of the Whites, that type of garment would be a permanent part of my kit. Part of the reason why I see the generally recognized weight categories as guidelines and not absolutes: It really is trip and environment dependent.
It only has to rain heavily for half an hour to soak you to the skin unless your wearing full waterproofs.and in that weather there is no way to dry your clothes off.
I am weird. I tend to hike in rain gear when it is that wet. 😉 Being serious, I’ve had fleece dry from body heat in a dry shelter.
Hi Mags
Great article! I also prefer the double glove system with liner and shell. I use and old Columbia 100 weight fleece that is incredibly thin and light, on most any trip, west or east. I’m a gear junkie sometimes, and have purchased way too much “stuff,” but that old fleece has stayed with me through it all! 🙂
Great article! I too, having grown up (and currently living back) in the mid-Atlantic, default to fleece for insulation layers. I find the weight penalty to be not enough to give up the performance in wet weather.
Like you, I find the fleece vest for active periods to be the usual great solution, and have even used a fully sleeved zip up or pull over as my in camp or inactive periods.
In all fairness as to weight, as a larger person (even at peak fitness I clock in at 230+#), a few extra ounces/pounds have less impact on me.
Recently went on a two night trip in NW Missouri with temps in the teens and for gloves wore midweight fleece liners sandwiched in a pair of batting gloves. Had great movement, warmth and the ability to grip from large pieces of wood to getting Oreo’s out of the bag.
If you can get your Oreos this easily, you must be doing something right! 😉
I enjoyed reading your post. Thanks.
Nice write up of cold and wet hiking. Is fleece roughly equivalent to a nanopuff (Patagonia trade name)? I use my nanopuff the same way that you use the fleece.
The one use I did not see mentioned was drying out base layers. When my base layers are wet or damp, I throw the nanopuff on: the water quickly moves to the outside of the nanopuff and evaporates. It certainly sounds like it would be the same.
The problem with any puffy, be it synthetic or down, is that it WILL get damp, or even wet, in these conditions if used while hiking. The loft will be compromised and the garment will not be effective. A puffy is best for camp/sleeping and breaks and not hiking. Even in cold and dry conditions, your body perspiration will get into the loft and, again, compromise the garment’s effectiveness. Only in very cold and dry conditions should a puffy be worn while hiking. A nano is roughly equivalent to a 200 wt fleece in terms of warmth. Naturally a 200… Read more »
The Nano Puff is designed to be warm when wet. It uses Primaloft One insulation. The promotional material claims that when it is wet it loses just 3% of its insulation capability – that is, it retains 97% of its insulation capability. From my experience with it over two years that figure is quite believable. I find no difference in warmth whether it is wet or not. It draws moisture outward very well and is wind resistant too. Patagonia does make down versions of the Nano Puff but they go by a different name. I very rarely wear it while… Read more »
Glad it works for you. But that is a very different experience from what most people (myself included) have with puffy layers…despite what marketing materials may say. 🙂
Concise, important information from two of the most experienced hikers that I know.
Even though they told me, “You’ll be fine.” on the Hayduke Trail and I was NOT fine; I was terrified for most of the trail.
I think you did better than you give yourself credit for, my friend!